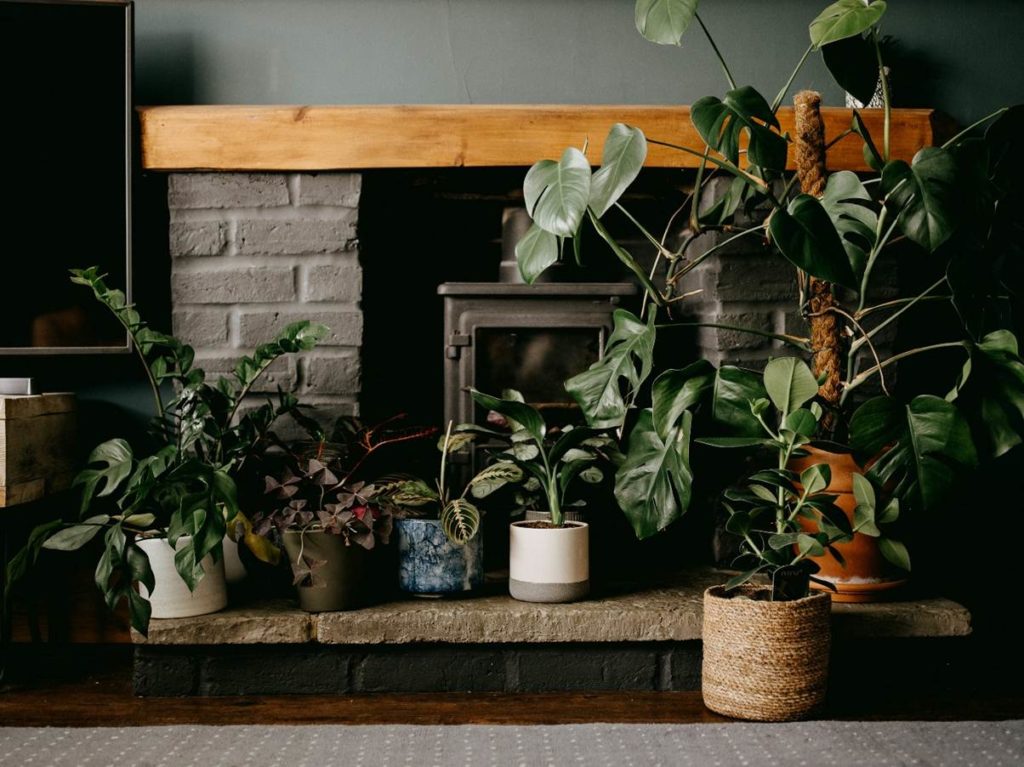
When I first started keeping houseplants, I thought watering was the easy part. It turns out it’s where most of us make the biggest mistakes, and not because we’re careless, but because there’s so much conflicting advice online. Over the years I’ve settled into a routine that works for me, and hopefully some of these tips will make watering feel a little less confusing for you too.
In our previous post, we explored why watering on a strict schedule isn’t practical (or kind) for your houseplants, how to tell when a plant actually needs water and why observing our plants regularly is so important. Once you’ve worked out when your plants need watering, there are a few other habits that can make life easier for both you and your plants.
Plant Placement
Where your plant lives has a big impact on how quickly it dries out.
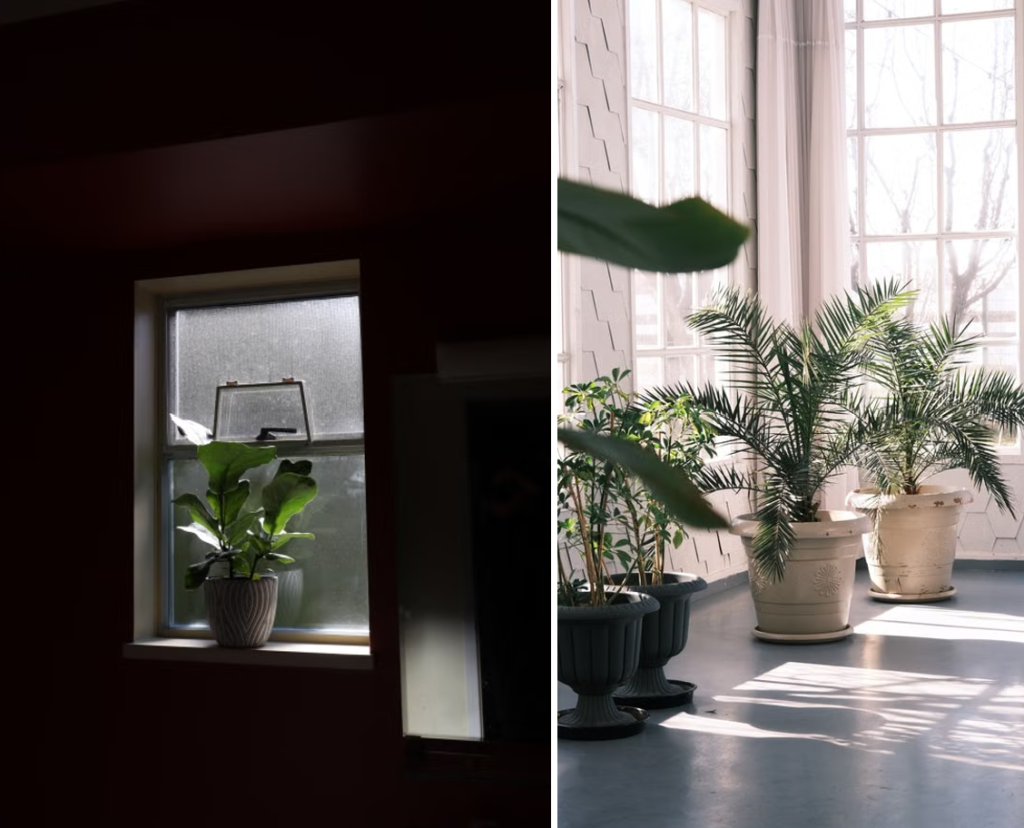
A plant sitting on a bright south-facing windowsill will usually need watering much more often than one in a cooler, shadier corner. Light, warmth and airflow all affect how quickly moisture evaporates from the compost.
One thing I’ve definitely noticed is that the plants I walk past every day get much better care than the ones tucked away in spare rooms. It isn’t because I’m neglecting them on purpose; I simply don’t notice the little signs that they need attention when I see them less often.
Keeping your plants somewhere you naturally see them makes it much easier to spot drooping leaves, dry soil or a pot that suddenly feels much lighter.
Plants in a darker north facing room or window will require watering less frequently than plants in a sunny, warm south facing window.
Learn the Weight of Your Pots
One of the easiest ways to judge whether a plant needs watering is simply to lift the pot.
A freshly watered pot is surprisingly heavy, while a dry one feels much lighter. After a little practice, you’ll start to recognise the difference without even thinking about it. It’s a simple trick that becomes surprisingly reliable.
Watering From Above vs Below
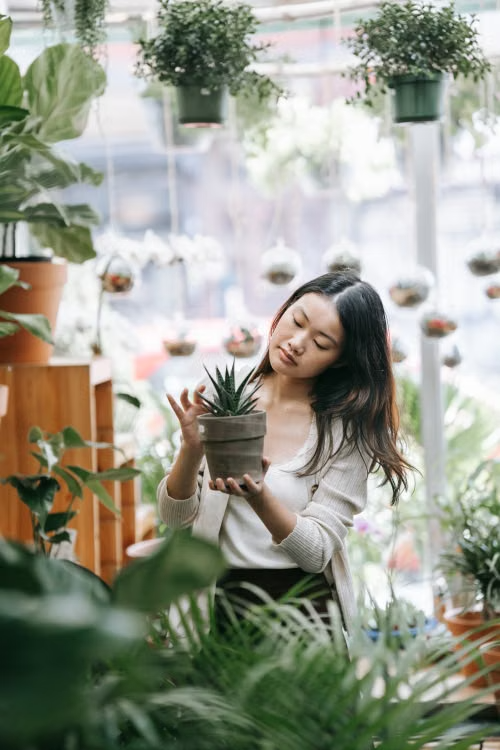
You’ll often hear people say you should only water from the top, while others swear by bottom watering. Personally, I’ve never found I need to choose one or the other. I tend to use a mix of both, and it’s worked well for me for years.
Top watering
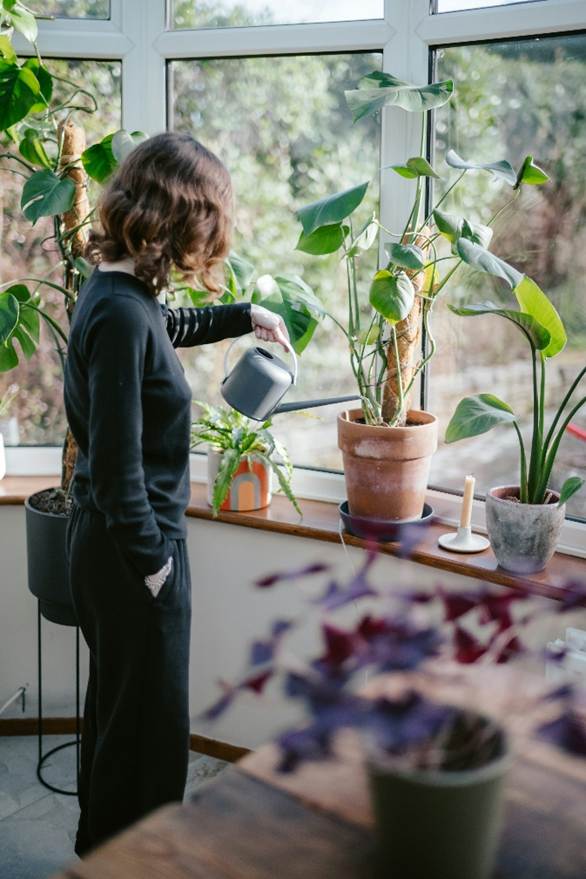
Top watering is when a watering can is used to pour water onto the top of the soil, allowing it to drain through the soil to the bottom.
Top-watering pros
- Quick and convenient – It’s quick and convenient and doesn’t require moving anything.
- Flushes excess minerals – It can be beneficial for washing out excess minerals and salts left behind by fertilisers.
- Good for shallow roots – It’s good for plants with shallow roots because it means the plant can take up water quickly rather than waiting for water to soak up into the soil from below. Examples include calatheas and ferns.
- Cleans leaves – It can rinse dust from leaves if you water the foliage as well as the soil, although some plants are better kept dry.
Top-watering cons
- Wet leaves – Wet foliage can contribute to plant diseases such as leaf rot and powdery mildew, particularly if leaves remain wet for long periods.
- Overwatering – Overwatering is possible if you pour too much water into the pot without allowing it to drain out, or if you leave water sitting in the bottom of the decorative pot. This can increase the risk of root rot and encourage fungus gnats.
- Soil compaction – Top watering can sometimes contribute to soil compaction, making it more difficult for excess water to drain from the pot.
- Uneven watering – If the soil has been left to dry out for a long time, it can become hydrophobic. When this happens, water may run over the surface and down the sides of the pot rather than being absorbed evenly by the compost. This can leave parts of the root ball dry even though water appears to be draining from the bottom.
Bottom watering
Bottom watering is when you immerse the bottom of the pot in water for a short period of time, often around 10–30 minutes depending on the size of the pot and how dry the compost is. This allows the soil to slowly soak up water from the bottom upwards, like a sponge.
This can be done by leaving the pot in a bowl or tray of water, or in a kitchen sink or bath filled with a couple of centimetres or inches of water.
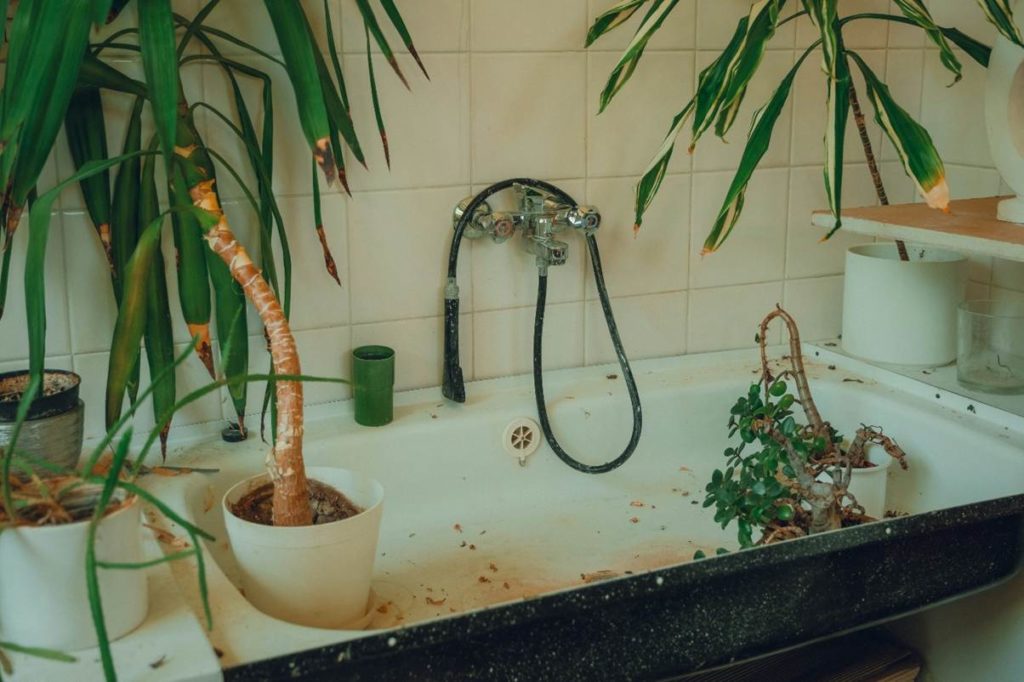
Pros of bottom watering
- Watering is even – If left for long enough, the soil can get an even soaking, meaning all the roots get an opportunity to absorb water.
- Leaves stay dry – With no water touching the leaves, this can reduce the chances of plant diseases such as leaf rot, crown rot, stem rot or powdery mildew.
- Roots grow deeper – For some plants, bottom watering can encourage roots to grow deeper to access the water source.
- Good for root-bound plants – When plants are root-bound, water may struggle to move through the compacted root ball and can quickly escape over the top and down the sides. Soaking can allow the roots to access and absorb water for longer.
Cons of bottom watering
- Takes longer – Water has to work against gravity to absorb upwards, so it can take longer.
- Uneven watering – If the pot isn’t left in the water for long enough, only the bottom half of the pot may be watered. This can leave roots at the top of the pot dry, while roots at the bottom may consistently stay wet and develop root rot.
- Potential salt build-up – With no water flushing through the pot from top to bottom, minerals and salts from fertilisers can build up in the soil. The plant may therefore need a generous top watering every few months to help flush out the build-up.
- Not practical for large containers – A very large pot filled with soil will be heavy before watering and even heavier afterwards. It may not be practical or safe to lift it into a kitchen sink or bath.
My Method – Drench, Drain, Dry
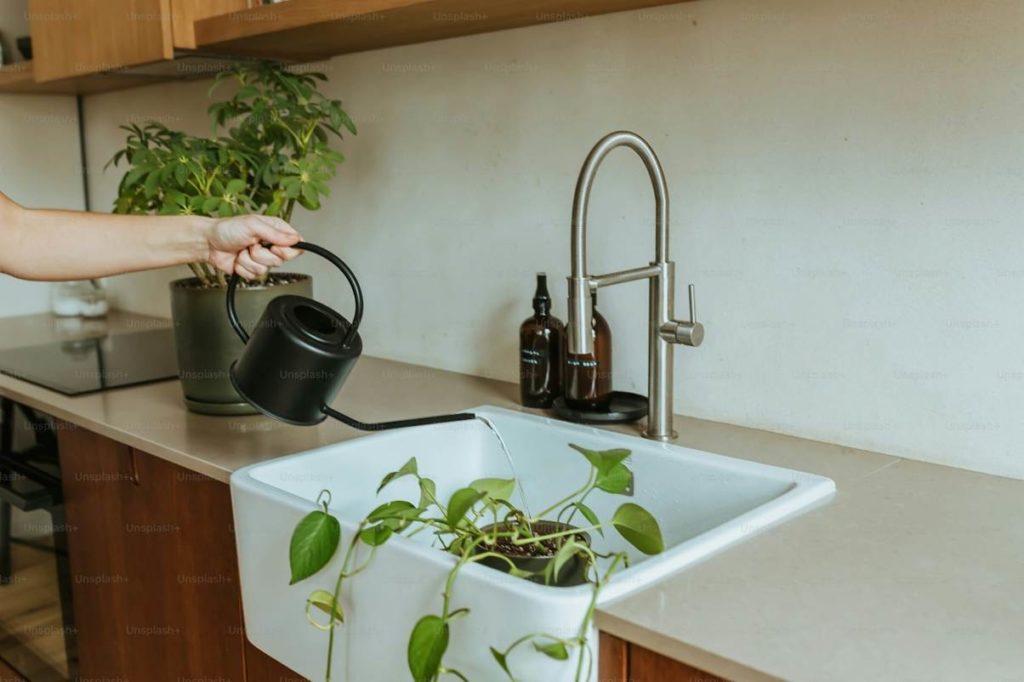
The method below is what I have found most useful for me and most of my houseplants, with the useful ‘drench, drain, dry’ catchphrase created by a friend of mine who owns the houseplant hospital ‘Hilda’ in Edinburgh.
Here’s what I do:
- Check first – Before I do anything, I look for signs that my plant will benefit from being watered. If it needs water, move to step 2.
- Remove the inner pot – I remove the inner pot from its decorative outer pot. Most decorative pots don’t have drainage holes. Excess water collects at the bottom, soaking the compost and increasing the risk of root rot and fungus gnats. If the pot is too heavy to lift, see step 7.
- Drench from the bottom – I fill a bowl or sink with around 2–3 cm of water. During the growing season, I add liquid fertiliser to the water to help boost growth. I then place the pots in the water.
- Drench from the top – I water from the top as well, making sure the compost is thoroughly drenched. Again, during the growing season, I add fertiliser too. I leave the pots standing for around 5–10 minutes.
- Drain – I remove the pots from the sink and leave them to drain out excess water for 5–10 minutes on the draining board before putting them back into their decorative pots. Make sure there’s no water dripping out of the bottom of the pot. If there is, allow it to drain for longer.
- Dry – I only water again when the soil is dry – see my post on how to know if soil needs watering here.
- For larger plants – For plants that are too heavy to move, I simply water from above and remove any excess water draining from the bottom using a turkey baster.
Seasonal Watering
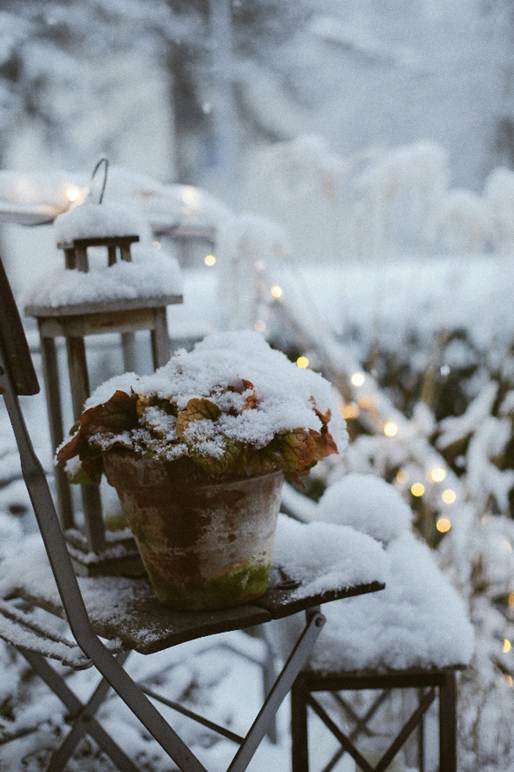
Plants don’t use the same amount of water all year round.
During spring and summer, when most houseplants are actively growing, I usually give the compost a thorough watering so the entire root system has access to moisture.
Here in the UK, things change during autumn and winter. The days become shorter, light levels drop, and many houseplants slow their growth. They simply don’t use water as quickly, so the compost stays damp for much longer.
Personally, I often water a little more cautiously during winter, especially if the compost is already taking a long time to dry out. Some growers still prefer to thoroughly drench the compost but simply leave much longer between waterings. Both approaches can work – the important thing is avoiding compost that stays constantly wet for weeks at a time.
If you live somewhere with a consistently warm, bright climate, your plants may continue growing all year round. Rather than watering according to the calendar, try to respond to what your plants are telling you.
Tap Water vs Rainwater
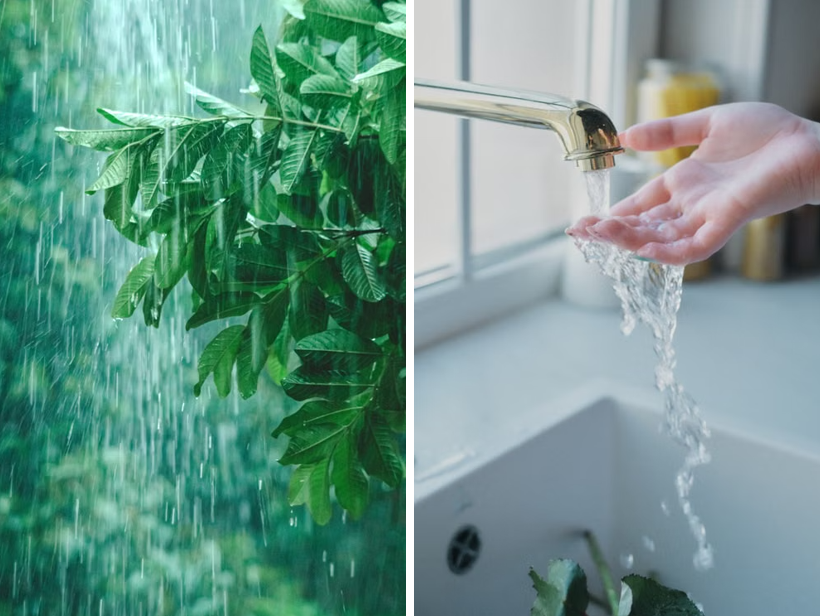
Most houseplants are perfectly happy with tap water.
You’ll often see advice saying that rainwater is best. But unless you have a garden or a rainwater collection system, it simply isn’t practical for many of us. While tap water does contain minerals and chemicals such as chlorine, fluoride, sodium and calcium, they usually aren’t present in high enough concentrations to cause problems.
I’ve watered almost all of my houseplants with tap water for years without any issues. Every now and then I come across a species that’s a little fussier, but for most plants it works absolutely fine.
Filtered water
Fussier plants like the Venus flytrap, are extremely sensitive to minerals so water with rainwater or distilled water if possible. Others, including dracaenas and calatheas, can sometimes show mild sensitivity too, often appearing as brown or crispy leaf tips.
If you have one of these fussier plants, you don’t need to buy bottled water. Here are a few more sustainable alternatives proposed by Sarah Gerhard-Jones in her book ‘The Plant Rescuer’:
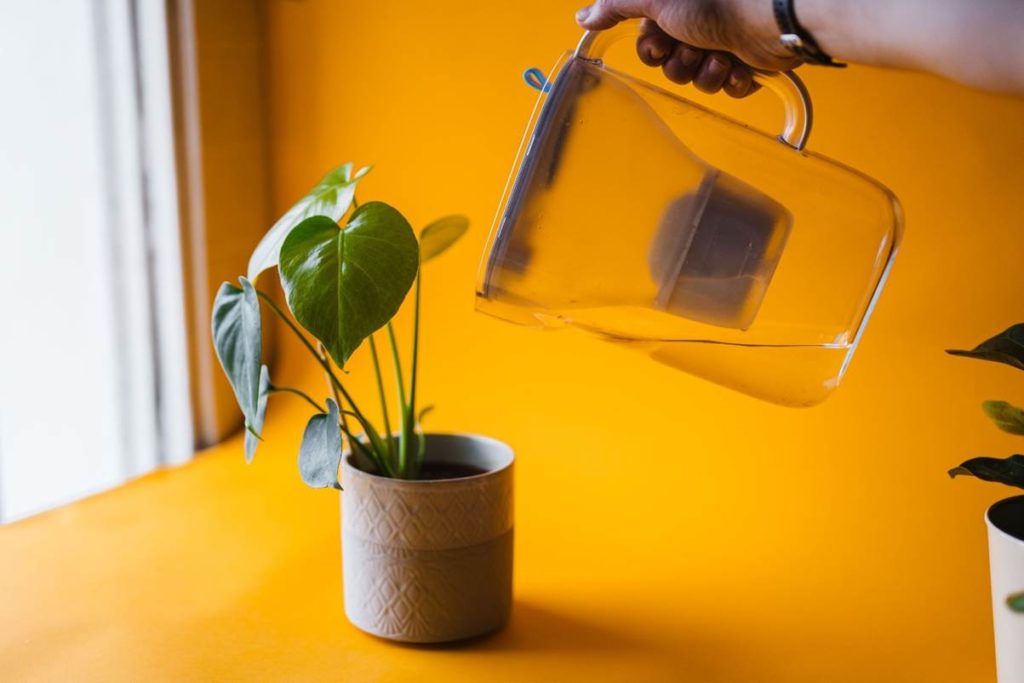
- Use a kitchen water filter, which can remove some minerals and chemicals.
- Leave tap water in a wide, open container for 24 hours. This can allow chlorine to dissipate, although it won’t remove minerals or chloramine.
- Reuse cooled water from boiling vegetables (provided no salt was added).
- Collect rainwater if you already have a suitable collection system.
Final Thoughts
There is no perfect way to water your plants. You’ll find that the more time you spend with your plants, the more you’ll notice and the easier watering becomes. In the beginning, we all make mistakes (I still make plenty even now!). Over time you’ll start to notice which ones dry out quickly, which ones prefer to stay a little damper, and which ones always seem to tell you they’re thirsty before you check. See my post on how to observe houseplants to get started download my free observation checklist to help guide you.
Don’t worry about getting everything perfect. Every home is different, every plant collection is different, and even experienced plant owners are always still learning! What’s important is observing your plants and adjusting care with the seasons. Before long you’ll find a watering routine that works for both you and your plants.
Leave a Reply